
I feel like I am getting the hang of being in the lab. I have been able to do almost everything on my own with my mentors close guidance. This week we were able to make the membranes with varying concentrations of PVDF and PVP.
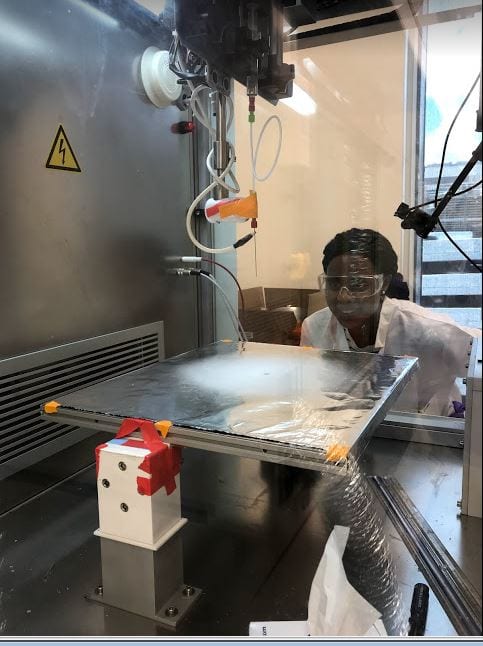
Monday- We were trained on how to use the Yflow Electirospinner in the BRC here at Rice.This is a fancy machine that automates many of the variables of electrospinning.
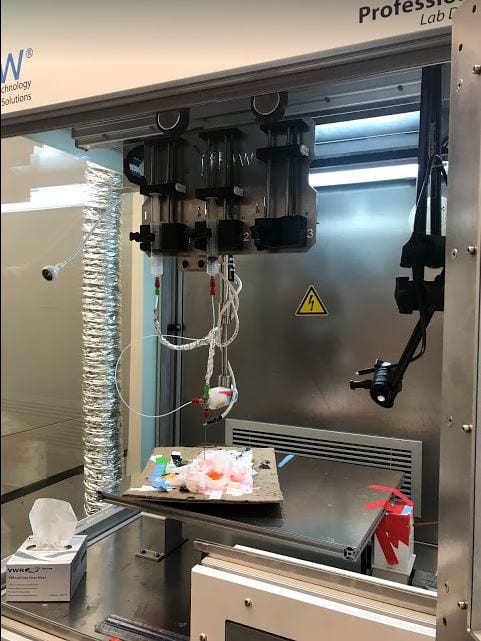
It also gives us the option to use special needles attached to our syringes. This will allow us to spin 2 solutions at a time and create a inner core and outer covering with different pore sizes.
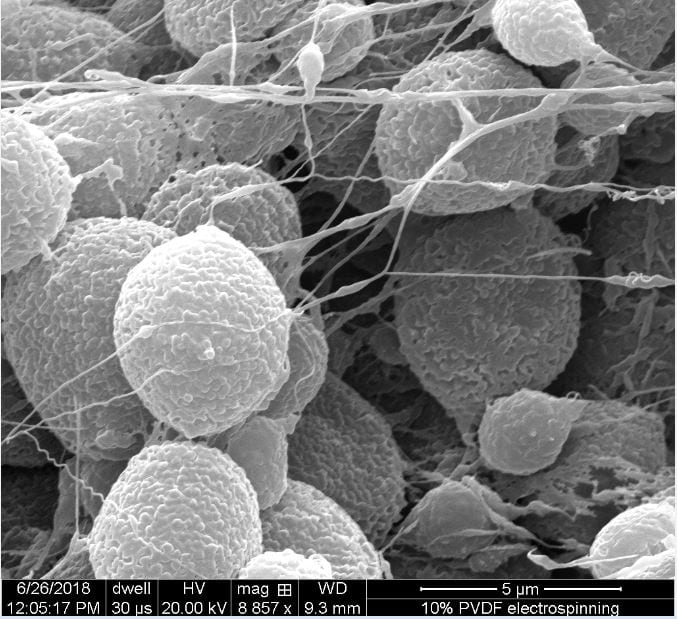
Tuesday-I was able to go through the process of sputtering ( spraying a thin layer of gold) on our electrospun membrane and using the Scanning Electron Microscope (SEM).
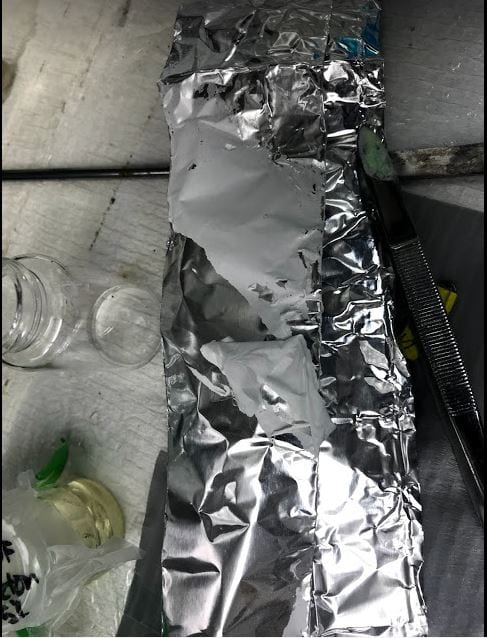
Wednesday- I had some awesome visitors come by and I was able to show them my work space. Then, I was able to mix our first polymer solution and we brought it over to the BRC later in the afternoon and created our first membrane.
Thursday- We were able to get a glimpse of projects being completed in the nanotechnology RET program. Their projects all deal with nanotechnology, but not water treatment. I was able to see a lot bioengineering applications of nanotechnology. Later, I was able to electrospin our second membrane. My mentor, Seth, spun the fourth membrane.
Friday- We mixed our last solution and spun our last membrane. We will compare the surface structures of each by using the SEM next week.
This week I have also had a lot of time to think about my lesson. As I wrote my script and continued to think about what we are trying to achieve in the lab, I thought about how I could have my students model our approach.
Originally, I wanted my students to discover the hydrophobicity of different items (metal, wood, cardboard, and plant leaf) by observing the contact angle of a drop of water and then measuring the tilt angle at which a drop of water would roll of the material. I would then allow them to choose different items to modify their surfaces such as petroleum jelly, oils, detergents, “magic sand”. Then I would dirty (apply salt or pepper) to their surfaces. Then we would test their designs by pouring water over them to see who’s surface is the cleanest.
After learning more about our porous membranes, I believe I could also have the students create a macro scale version of the nano scale membrane. I am thinking I would give them each a flat piece of cardboard. This would be their membrane and they can modify the surface by cutting holes, adding bumps. The water could be modeled by marbles or small balls. They could then measure the number of pores, size of pores they created, and the tilt angle.
What do you guys think? Do you have any cell membrane, pore size, hydrophobic/hydrophilic labs that you currently do?
I like students creating a physical model of the membrane. It is hard for them to see what is going on unless they make it.