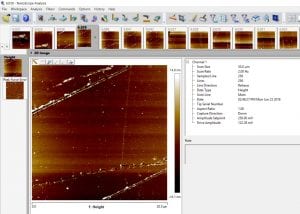
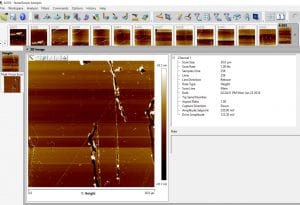
So I was able to finish all measurements on Monday when I worked on the atomic force microscope(AFM) from 10 am to 4 pm, and just said
okay! Done! Now the rest is just data analysis!
And then participated to the weekly meetings with Dr. Natelson where he asked us to test samples on SiO2 surface besides the gold.
So we prepared the samples and I went to test them on AFM. First sample went ahead well… And then AFM started giving errors by lowering down the sampling rate to 0.1 Hz which results waiting 20-30 min for one scanning and I need to take about 10 measurements of the clean side and 10 of the PDMS exposed side.
So I kept replaced the tip, and normally I realized it when tip gets close enough for measurements (needs to be 10 to 80 micro meter )
And I just saw the tip scattered through the microscope AGGGHHHHH!!!!!
Sample needs to be replaced since it is full of junk on it now.
I could not continue since other tips did not work either….
Will continue on Monday. Lets see…
I attached two pictures of the surface for how it looks,… I am taking measurements for the roughness which is the equivalent of left over residues


I`m sorry to hear about your sample getting ruined! That is always the worst! Is the AFM microscope difficult to work with? The pictures still look cool!
-Taylor